
I posted this "fast" orc unit tutorial for 10mm Warmaster orcs on the Facebook Warmaster group this time last year. I get asked about it quite a lot and am told it is a pain to find on the community page so I thought it might be easier to repost here so it has a permanent home:
The much promised “fast” Orc tutorial. It may not be fast enough for some of you, so some of you may want to cut out some highlighting stages or change/tweak a few things.


Before we start, a word on brushes. I’m using Windsor and Newton Series 7s and I use a size 3 for almost everything except some detailing. High quality brushes hold a very fine point and at this scale the larger brush size holds more paint. More paint means less brush reloads, which means quicker “batch painting” which is essentially what you are doing for WM, even if you're just doing one or two strips.
I used PVA to attach all the strips to lolly sticks / coffee stirrers with PVA glue. It’s strong enough to hold them on the sticks but not so strong that you can’t easily remove them when ready to base.
With the PVA dry, I sprayed 3 whole units in 3 different brown undercoats. The Colours I used were: Mournfang Brown by GW, and 237 – "Desert Tan" and 29 – "Dark Earth" both by Humbrol.
I know in some countries Humbrol is hard to come by, you can easily substitute in GW “Zandri Dust” Spray for the Desert Tan. Annoyingly, since I first posted this, GW have stopped making Mournfang Brown as a spray. I had a look at the colours at Warfare on Saturday and I think that Army Painter “Fur Brown” would make a good substitute although personally I find citadel spray superior to Army Painter in holding detail.
.
Please note (1) that between me doing the undercoat and actually starting painting the things my mother-in-law visited from Africa for 5 or 6 weeks. As such these were somewhat clumsily stored for several weeks under the bed, hence the flash visible in the early photos. The bad clean-ups and mould lines are my own fault.
Please note (2) that I use a dark oil wash as my first stage with thinned down artist oils. This might scare some people (especially if you don’t own any and you just saw how much they cost!) – but a thinned Citadel shade will suffice if you prefer.
STAGE ONE:
Stage One – Over the strips, with a large brush I apply a very thin wash
with artist oils. I use a mixture of black and burnt umber thinned right down
with turps to give me a very thin wash. Artist oils are very heavy pigment-wise
so they keep their pigment while thinned down. I do one side at a time leaving them to dry
flat so that the dark pigment sinks into the deepest recesses. Oil wash takes
nowhere near the same time to dry as neat oils (which take days) and shouldn’t
take longer than a Citadel shade to dry. To be safe, I usually do the washes
the night before and start painting in earnest the next day. This stage is optional - but I use it to show my ageing eyes the detail on the strips.

STAGE TWO:

STAGE THREE:
Stage three – from now on I’ll just show the progress on the Mournfang brown chaps so we can focus on them. Stage three is an optional step so please leave out if you wish – but to add a bit of variety to the clothing and equipment I am adding in a couple of other dull shades. I pick out a few pouches, trousers, “tunics” and the odd shield in Citadel “Mechanicus Grey” and “Zandri Dust” – and obviously similar dull shades of yellow/khaki and grey/brown will substitute in easily. I have the Mournfang Brown out to tidy any areas where I’ve got green by accident!


STAGE FOUR:
Metalics. Speaks for itself. Weapons, handles, some bangles painted in Boltgun metal / Leadbelcher depending on how old your paints are! If there is any mail I pick this out with a drybrush.


STAGE FIVE:
The whole model gets a wash with GW Agrax Earthshade. I don’t want to faff about with a black wash for the metal and greys, green for the skin and brown for the cloth etc – so it's one brown wash and done.
The brown gives the metal a dull Orcish feel and makes the bright green more ruddy and lived-in. It also deepens the shade of the cloth, making the grey look a bit dirty and grubby. I have a habit of leaving washed figures to dry upside down for five minutes on my cunning Humbrol upside down drying platform. I rotate them several times while they are drying to prevent pooling at the bottom of the figure. Use a dry brush to remove any paint that pools on raised surfaces

STAGE SIX:
Highlighting. For me the skin is the focal point so it’s going to get the most attention. I am going to do three quick(ish) highlights to the skin.
Firstly with the Gun Ocre light. I am using the paint thinned with water but with the side of the brush as if I was drybrushing. I want to cover most of the flesh but also leave the brown to darker green transition in the skin creases.
For the second highlight I am using GW “Krieg Khaki” Edge Paint. They call it a brown but this does perfectly well for the purpose I want. I am now highlighting the top edges of the skin. Tops of heads, shoulders etc anywhere where the light would hit. Alternatively you can use a 50/50 mix of your last highlight and white (or Ivory colour)
For the third and final stage I use the last highlight colour mixed mainly with white. With this I am going to “edge” highlight the skin. I do the this with the side of a brush and now finally I’m swapping to a smaller brush – a 1 or a 0. I only want to catch the extreme edges. Eyebrow ridge. Nose. Maybe tops of hands / fingers. I leave the skin there.
At this stage you may wish to detach the strips and glue to bases. This stops you from over-painting the backs of the front row and the fronts of the back row. I haven’t done this because I wanted to tackle the basing all in one go in a later “stage”.


STAGE SEVEN:
More quick highlights. On the brown I am going to firstly do a quick semi-drybrush with a 75 / 25 mix of Mournfang Brown and Zandri Dust. Again I want the raised areas. I also paint a wide “stripe” / “splodge” around the middle of the wooden weapon shafts and highlight the tops of the wood and shields. I doing this as quick as I can without obsessing or taking it too slowly.
Finally with the browns I use a mix of Mournfang Brown heavily lightened with Zandri Dust. I use this to “edge” the wood. The tops of wooden shafts, tops of shields and extreme raised edges of brown clothing.
I do a similar top highlight to the grey and Zandri Dust in the same way. But there’s no need to go overboard. Hopefully the green skin is going to get the most attention.
I paint in the odd shield detail in red and here and there an orcish red eye - you can edge highlight the metals with your lightest silver if you wish but don't drybrush it. You're looking for poor orc smithery or stolen weapons remember.


STAGE EIGHT:
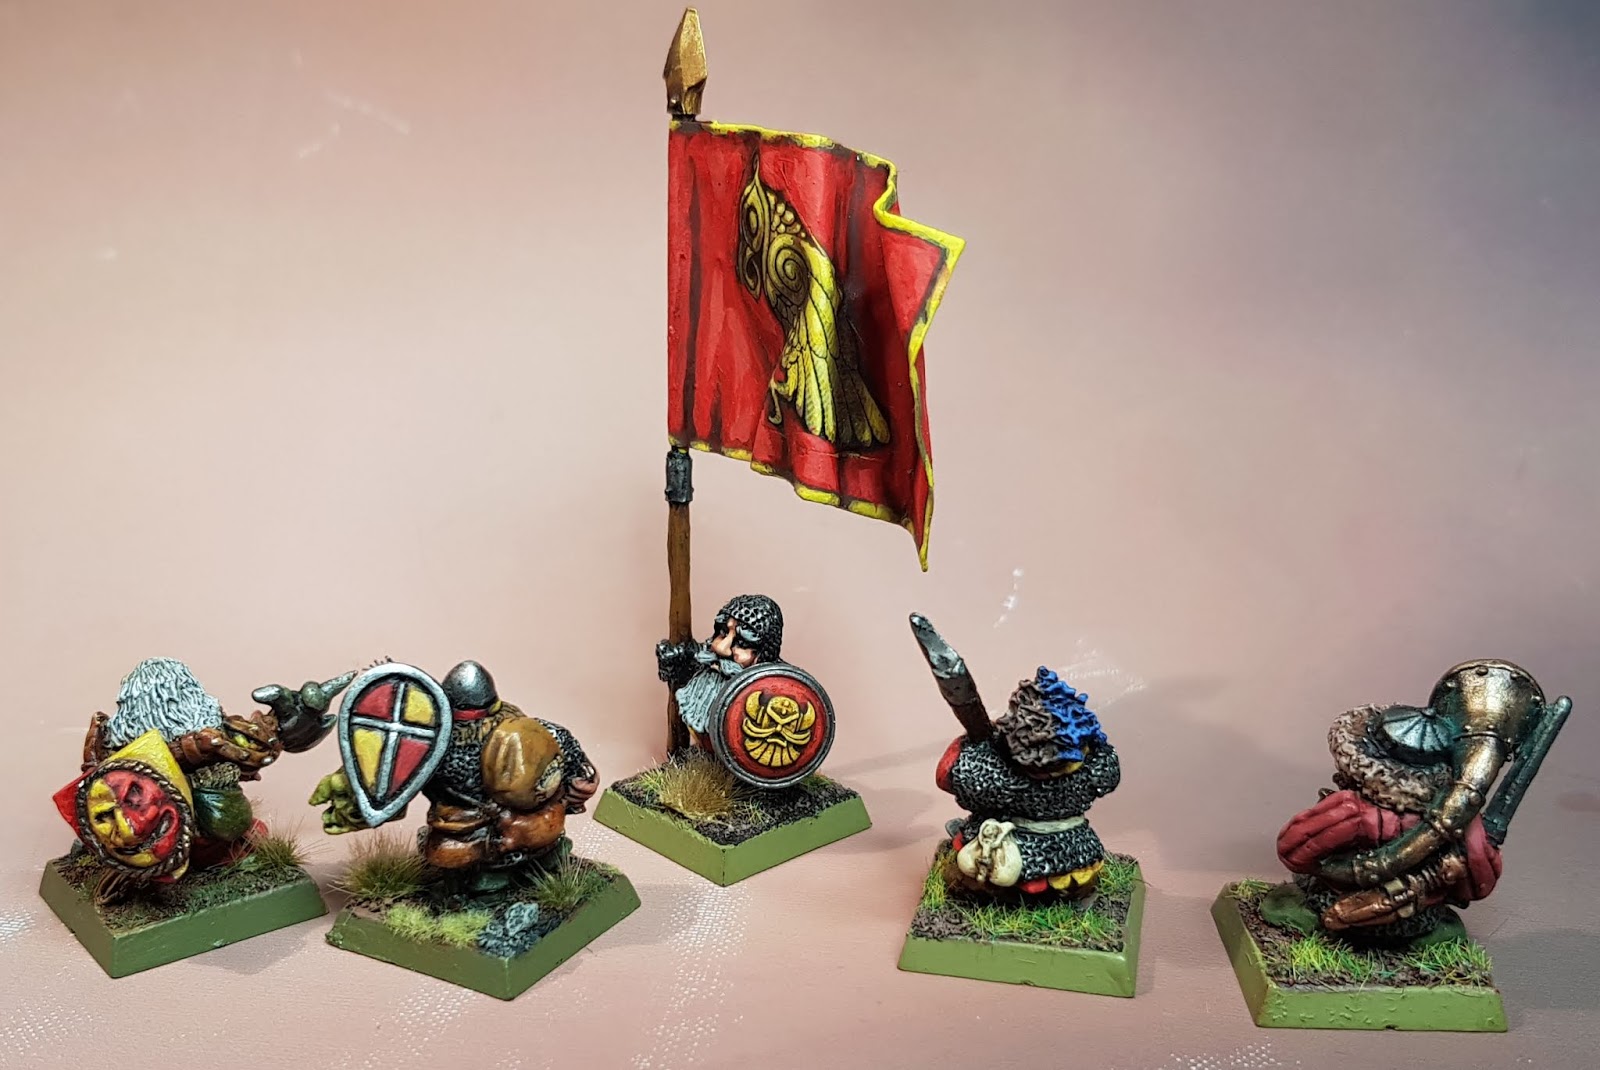
Sticking to the base. My Dad used to say the modelling / Wargaming holy triumvirate was “Faces; bases; flags”. Actually. He’s not dead. He still says that at 73 years-old with his x10 magnifier on his head as he builds 1:72nd WW1 French ambulances and O-scale model railway trees. We’ve done the faces. We can save flags for another time. Now on to the bases.
Get out your fine sand and have the box open and ready. Trust me. And don’t sneeze.
Get out your fine sand and have the box open and ready. Trust me. And don’t sneeze.
I use thick Gorilla superglue gel. And I deliberately use too much on the bottom of the strips. I place the back strip as close to the back of the plastic base as possible and place the front strip as close to the back strip as possible. This is because I find that having a big gap between the ranks both looks bad and is also impractical. Also – having as much room at the front of the stand as possible allows you to do some nice basing.
Because I’ve used too much glue, when I splat them down on the stand – lots of superglue excess splurges out of the sides. I wait a few moments for the strips to glue to the stands and then I plunge into the sand (the stands, not myself). This means that unless you have OCD, there’s no need to use filler between the bases and the stand. The excess gel creates a ridge around the base of the strip and the sand covers it.
Use a scrap of paper towel to remove sand or glue that has splurged down the sides (unless you like that sort of thing).
When this is dry I use brush-on superglue (£0.99 from Wilko) to sand any gaps.


STAGE NINE:
Basing - When the glue is completely dry I paint the sand with a thinned down layer of Mournfang. I drybrush this with Zandri Dust.


I used some coarse grass by woodland scenic for the other two patches of grass. Applied with superglue brush-on. And finally a little citadel “dead grass”.
I left the shield 2nd from the right blank as I will most likely paint it white and apply a home-made decal.
Remember. At this scale it's about contrast from darkest dark to lightest light. Leave subtlety to the larger scales!
I left the shield 2nd from the right blank as I will most likely paint it white and apply a home-made decal.
Remember. At this scale it's about contrast from darkest dark to lightest light. Leave subtlety to the larger scales!


FINISHING TOUCHES:
To finish off I freehanded a simple moon (or is it a sun?) design which I painted over lines I made with both black and brown fineliners. The design is copied from a (much bigger) LBM Studios decal designed for a medieval Polish knight. I used another two decals, one which I took from the new Blood Bowl set of a white eye and a second red moon face which I hand made myself and painted over.

A second unit of black orcs painted in the same way but with red weapon hafts and a home-made oldhammer decal which I have painted over.

Hope that was useful!


